Basic Memory Teams
Basic Memory Teams gives your team a single, shared cloud workspace. Knowledge isn't confined to one person — anything a teammate writes is immediately available to everyone else and to their AI assistants. Edit a note together in real time, hand work off between humans and agents, and build one connected knowledge base instead of scattered copies.
Workspaces
Your account can have more than one workspace. Each keeps its own projects, notes, and members.
| Workspace | Who can access it | Notes |
|---|---|---|
| Local | Just you, on your machine | No team features; runs entirely on your computer |
| Personal Cloud | Just you | Your personal cloud subscription and notes |
| Organization | Your team | Shared projects, members, roles, and seats |
Switch between workspaces using the workspace selector in the app. Projects and notes are scoped to the workspace you're in.
Roles
Every member of an organization workspace has a role that determines what they can do.
| Role | Can do |
|---|---|
| Owner | Everything an editor can, plus manage members and invitations, manage billing, and transfer ownership |
| Editor | Read and write notes, and manage invitations |
| Viewer | Read-only access to shared projects |
Members also have a status:
- Pending — invited, but hasn't finished linking their account yet
- Active — full access according to their role
- Deactivated — removed from the team; their history is preserved and their seat is released
Working together in real time
When two people open the same note, they see each other's edits as they happen. The editor is built on CRDTs (Yjs), so every keystroke syncs instantly across collaborators with no merge conflicts to resolve. A presence avatar appears in the note header for each active collaborator — each one gets a distinct color so you can tell at a glance who's typing where.
AI agents as collaborators
Once available, you'll connect an agent to a note and it shows up in the same presence list as your teammates with a live status indicator — working, just updated, or waiting for input. Agents read the shared knowledge graph for context and write structured observations and relations back into it, so the more your team uses Basic Memory, the better your AI gets at answering from your team's actual knowledge.
Activity feed
The Activity view in the app keeps you aware of what's happening across the workspace. It shows operations in progress (imports, indexing, large edits) and recent completed changes — from every team member and agent — with direct links to the affected notes.
File history — undo on the file level
Every save creates a new version of a note, automatically. If a teammate overwrites something or an agent edits go sideways, open File history on the note to step back through the timeline, compare any version against the current one, and merge content back in. Restored content saves as a new version, so nothing is ever lost.
See File History for the full reference, or Restore Lost Content for the broader recovery decision guide (File history for a single note, Snapshots for bigger rollbacks).
Inviting members
Owners invite people by email from Settings → Teams.
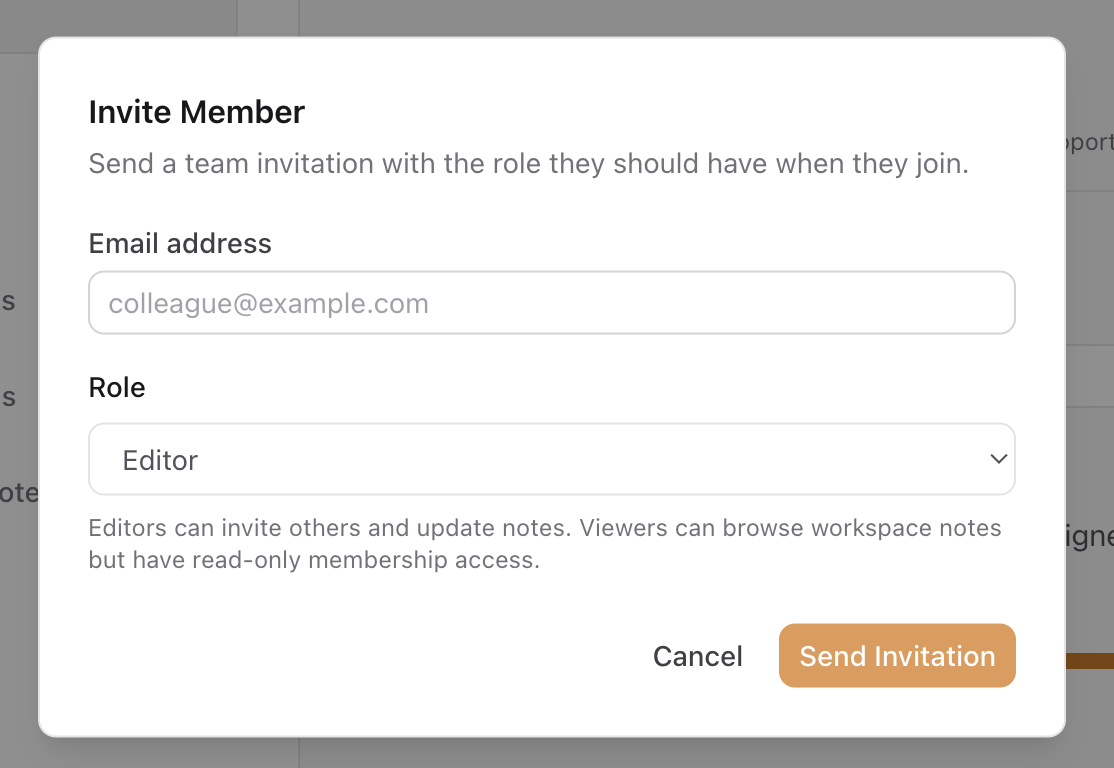
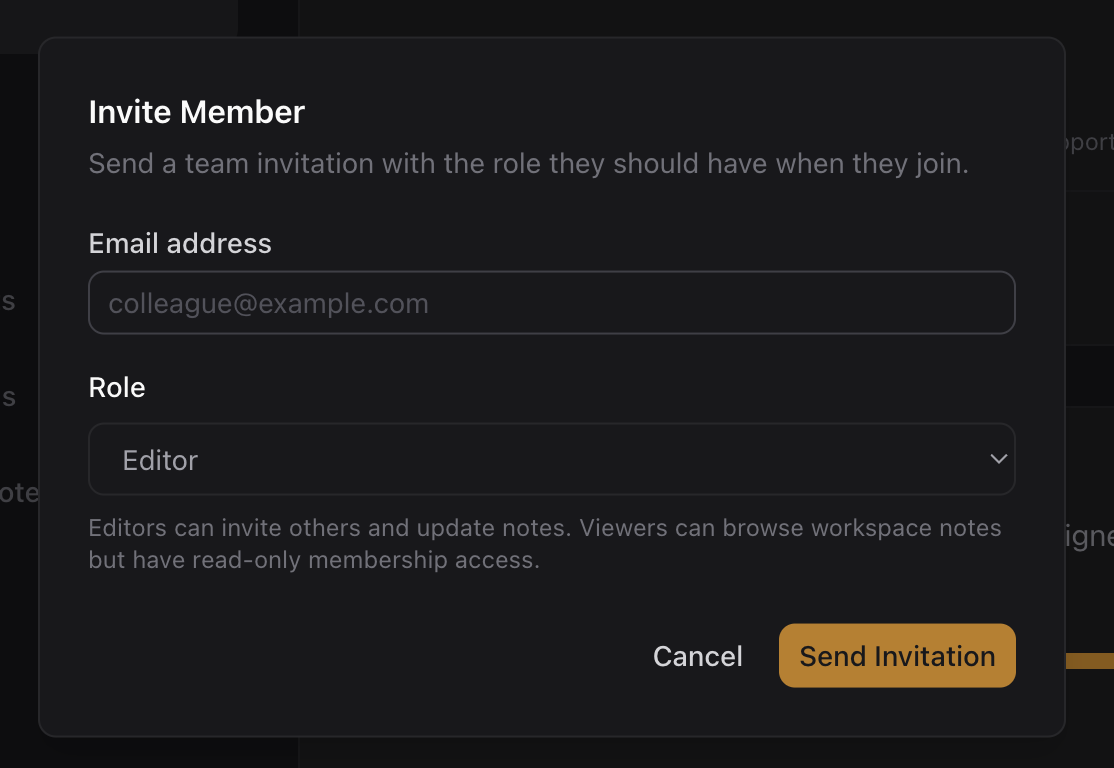
To invite a member, click the "Invite Member" button.
Send an invitation
Enter the person's email address and choose a role (Editor or Viewer). They'll receive an email with an invitation link.
They receive an email
The invitee gets an email invitation.
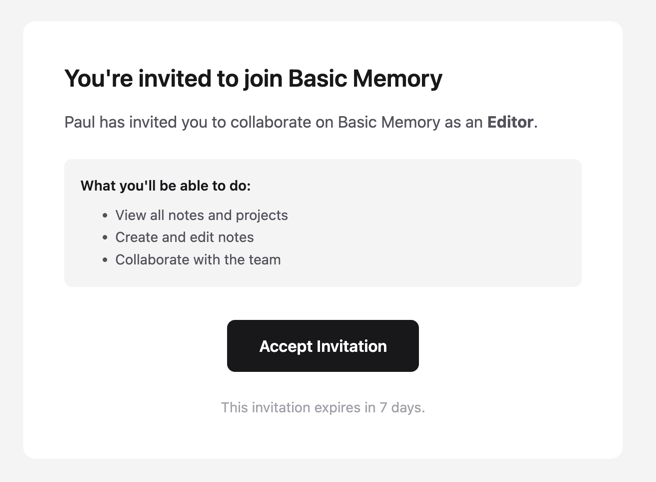
Click the accept button.
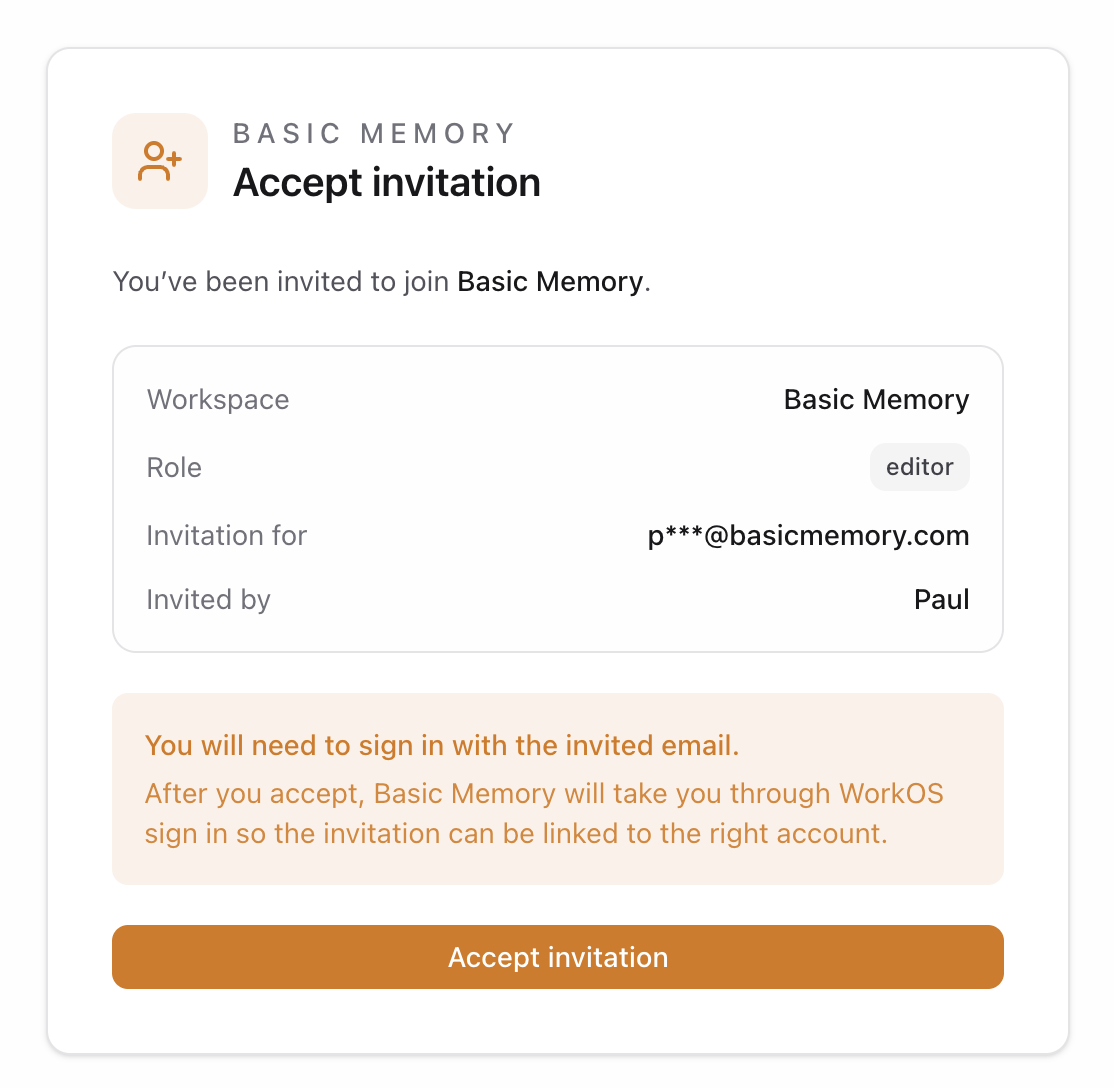
They accept
The link opens an accept page. The invitee signs in (or creates an account) using the email the invitation was sent to. If they're already signed in with a different account, they'll be asked to sign in again with the invited email.
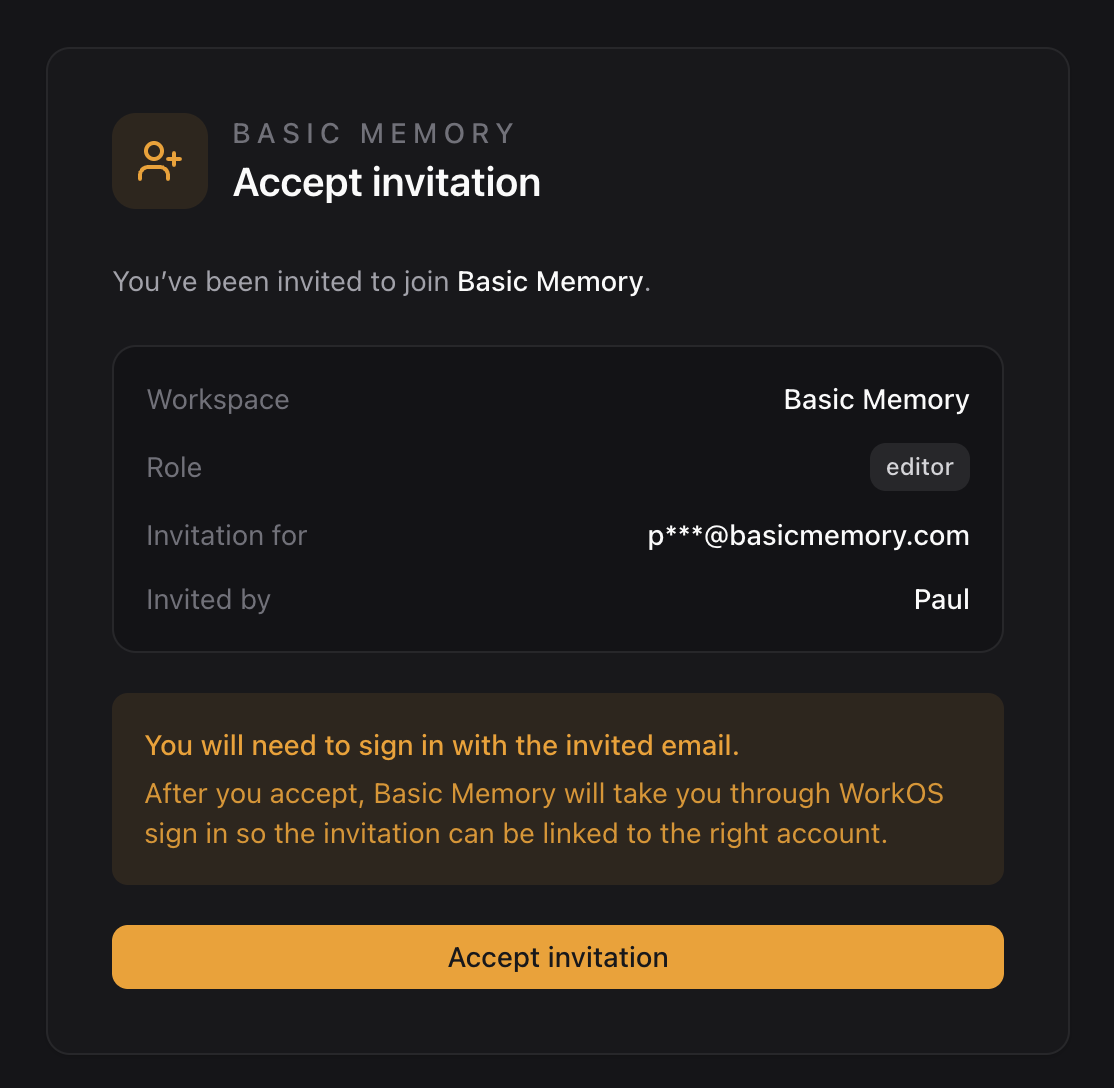
Account linking
On first sign-in, their authenticated account is linked to the pending membership, and they become an active member.
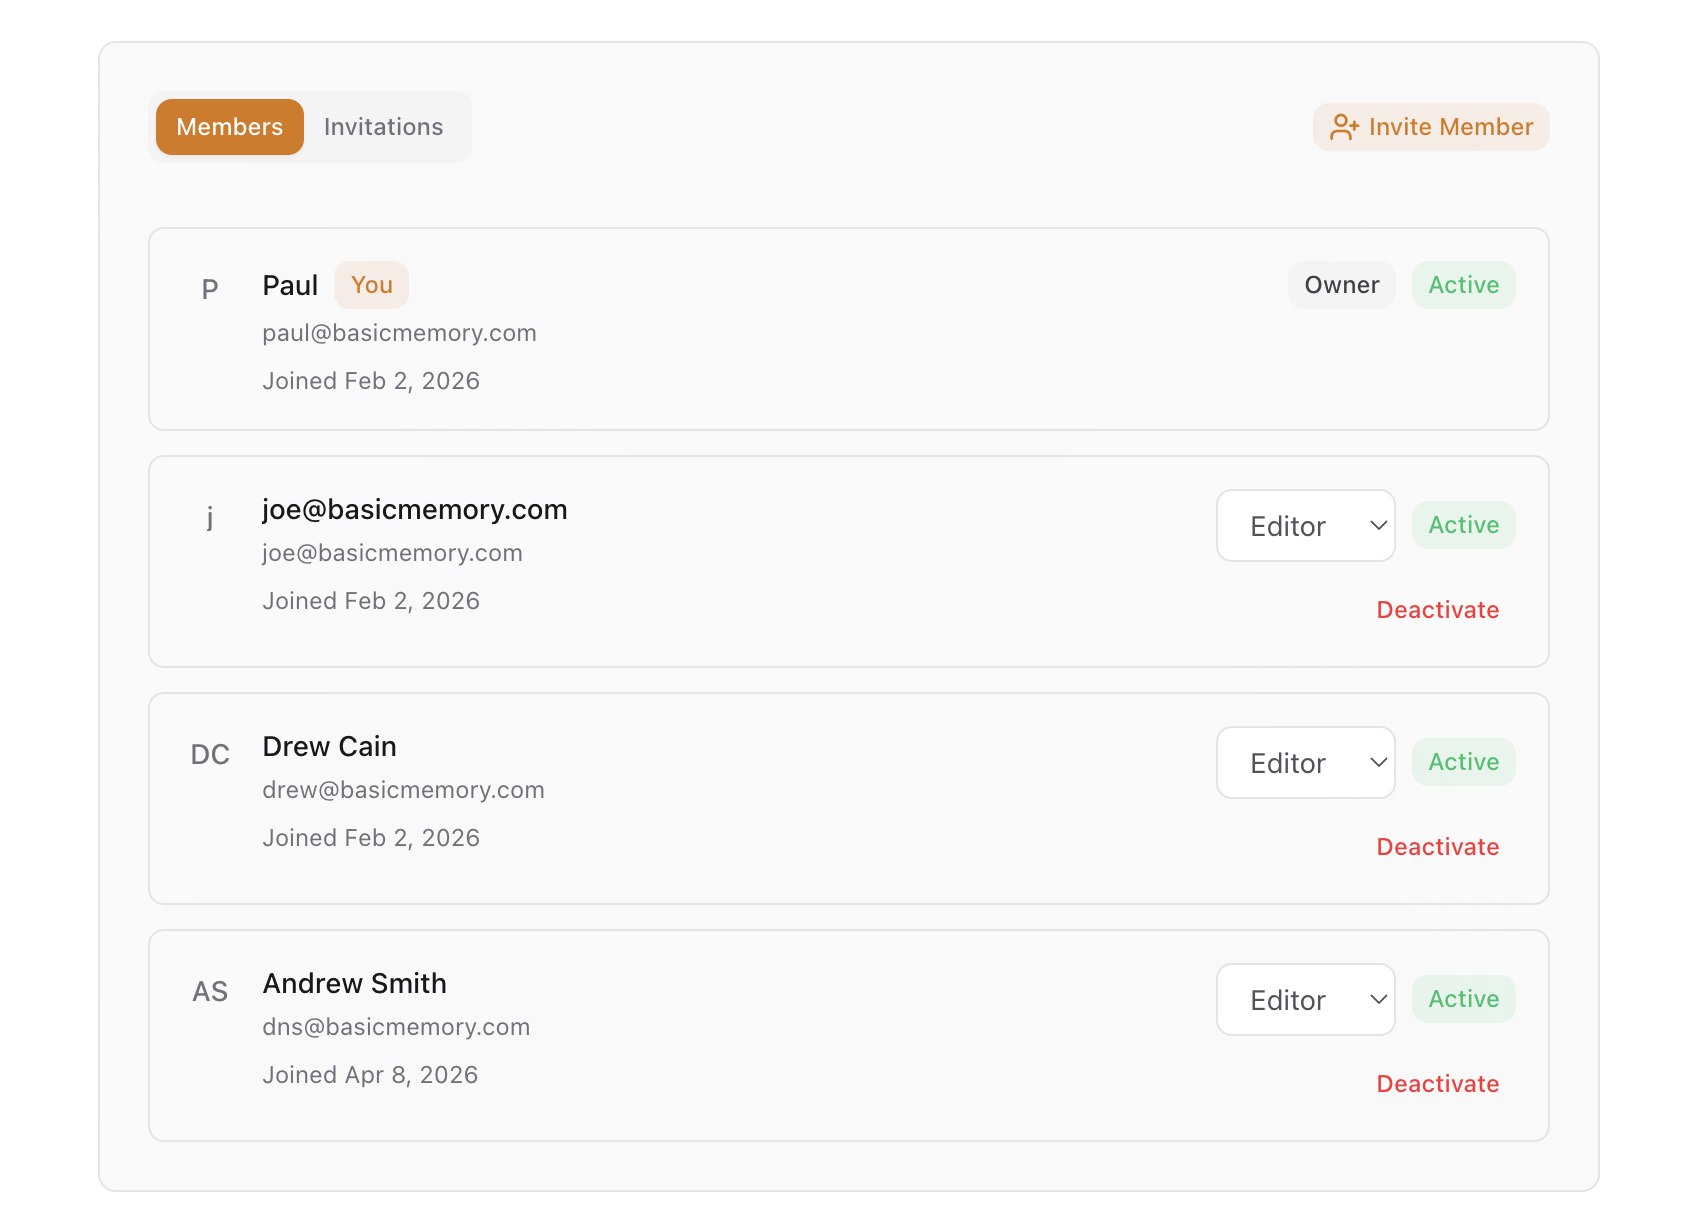
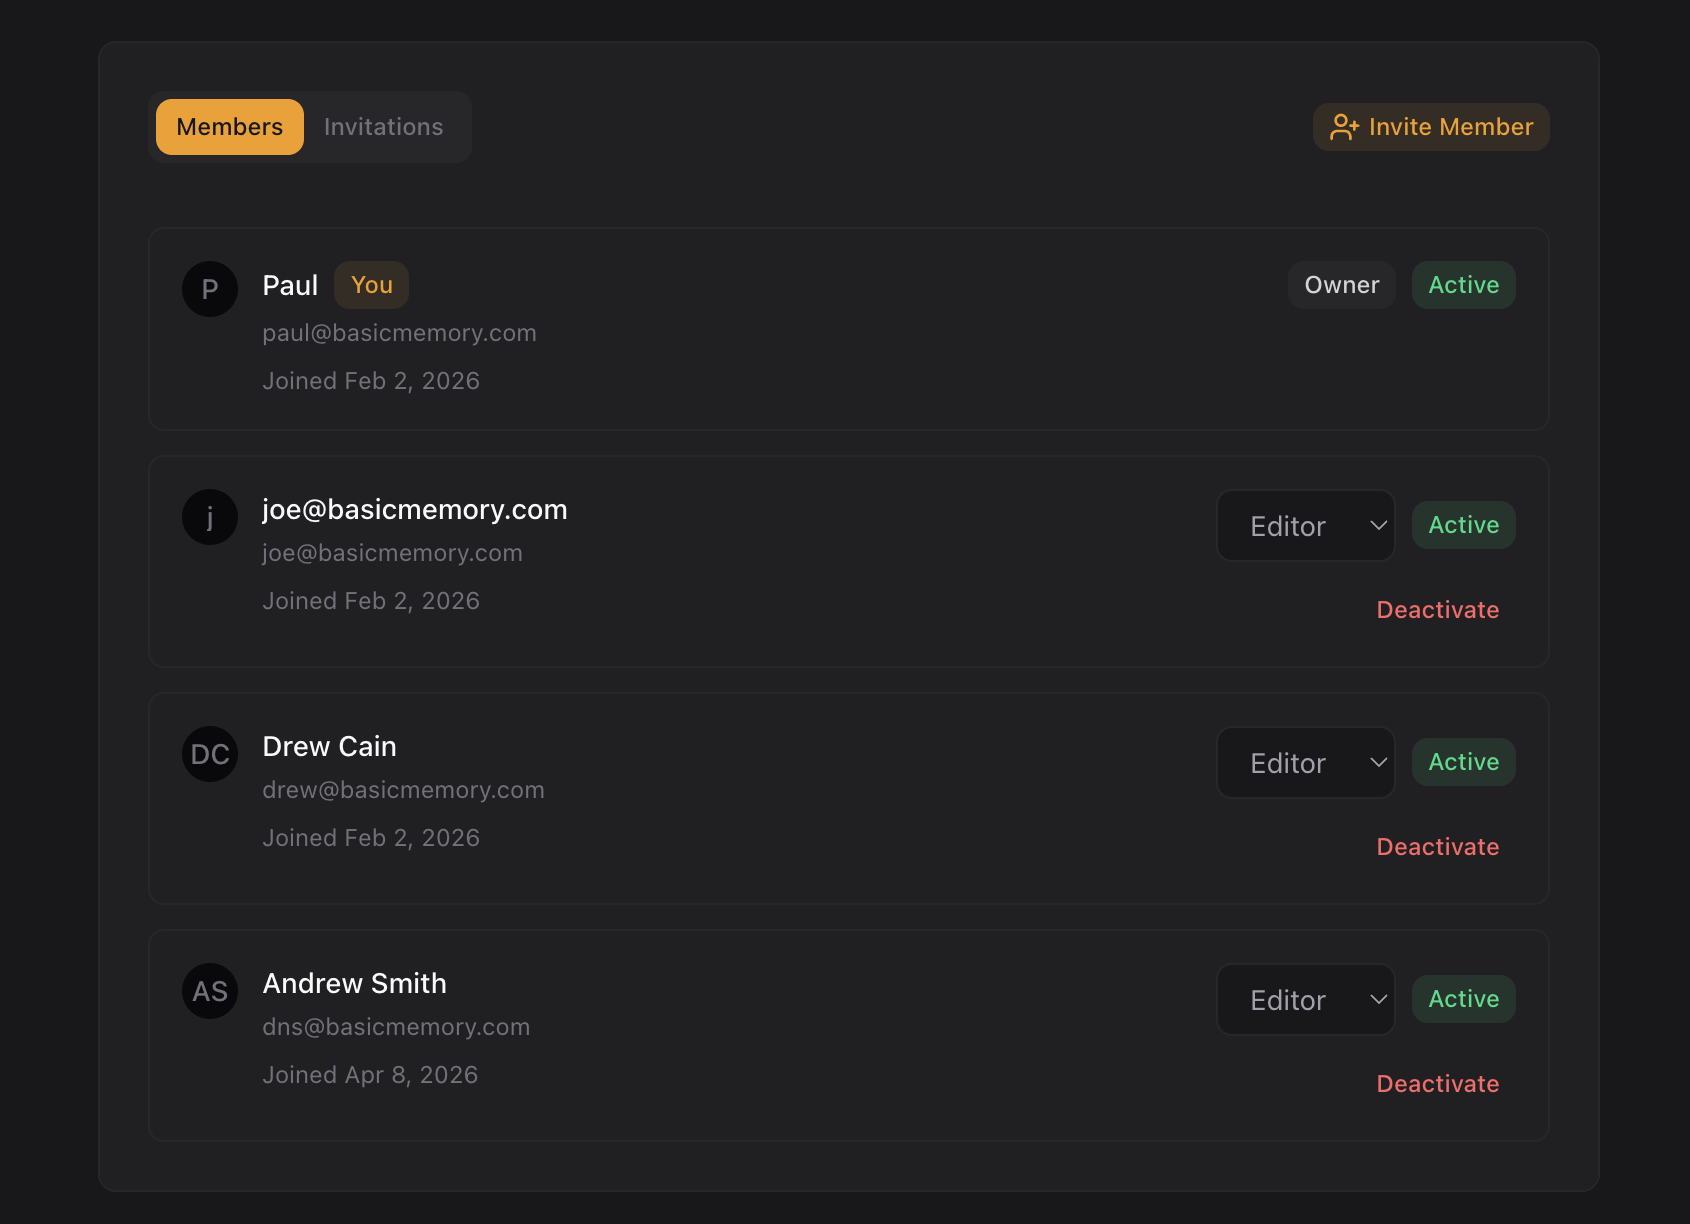
Managing members
From Settings → Teams, an owner can:
- Change a member's role — promote a viewer to editor, or vice versa.
- Deactivate a member — removes their access and frees their seat. Their authored history stays intact.
- Reactivate a member — restores access, reassigning a seat if one is available.
- Transfer ownership — hand the workspace (and its subscription) to another member. The new owner takes over billing and management.
Seats and billing
Teams billing is per seat. The number of seats on your subscription sets how many active members the workspace can have.
- Each active member occupies one seat.
- Deactivating a member frees their seat for someone else.
- Reactivating a member requires an available seat.
- Pending invitations don't consume a seat until they're accepted.
- If your team grows past your current seat allocation, there's a 14-day grace period before any restrictions kick in — so a new hire never gets locked out while you're adding seats.
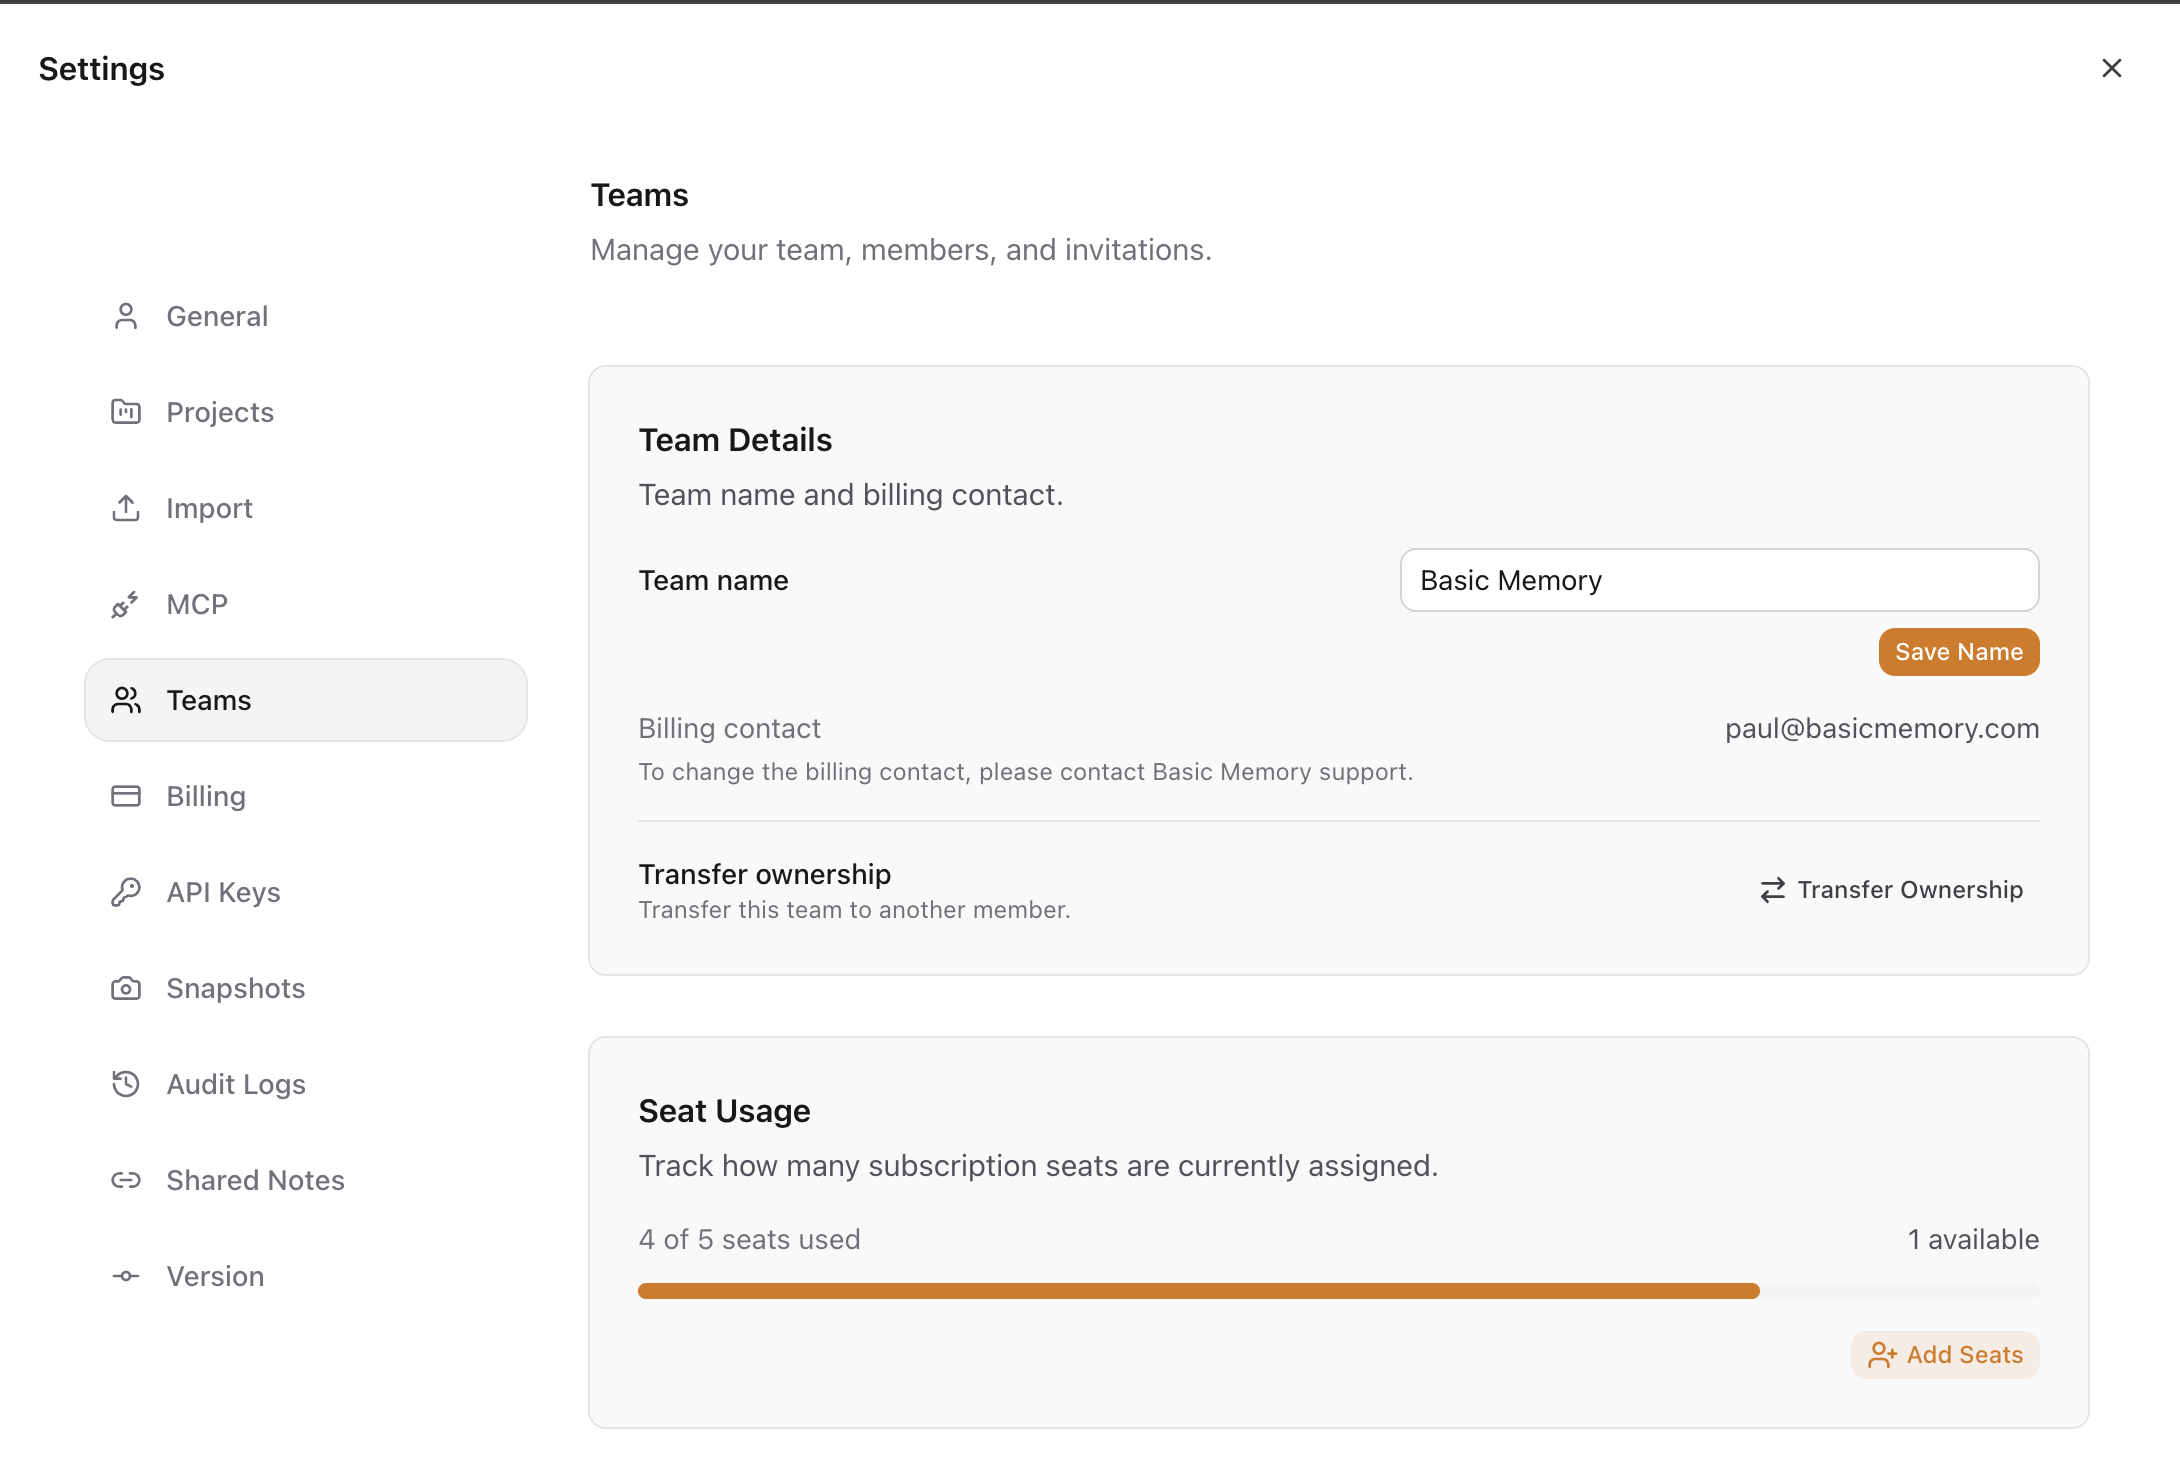
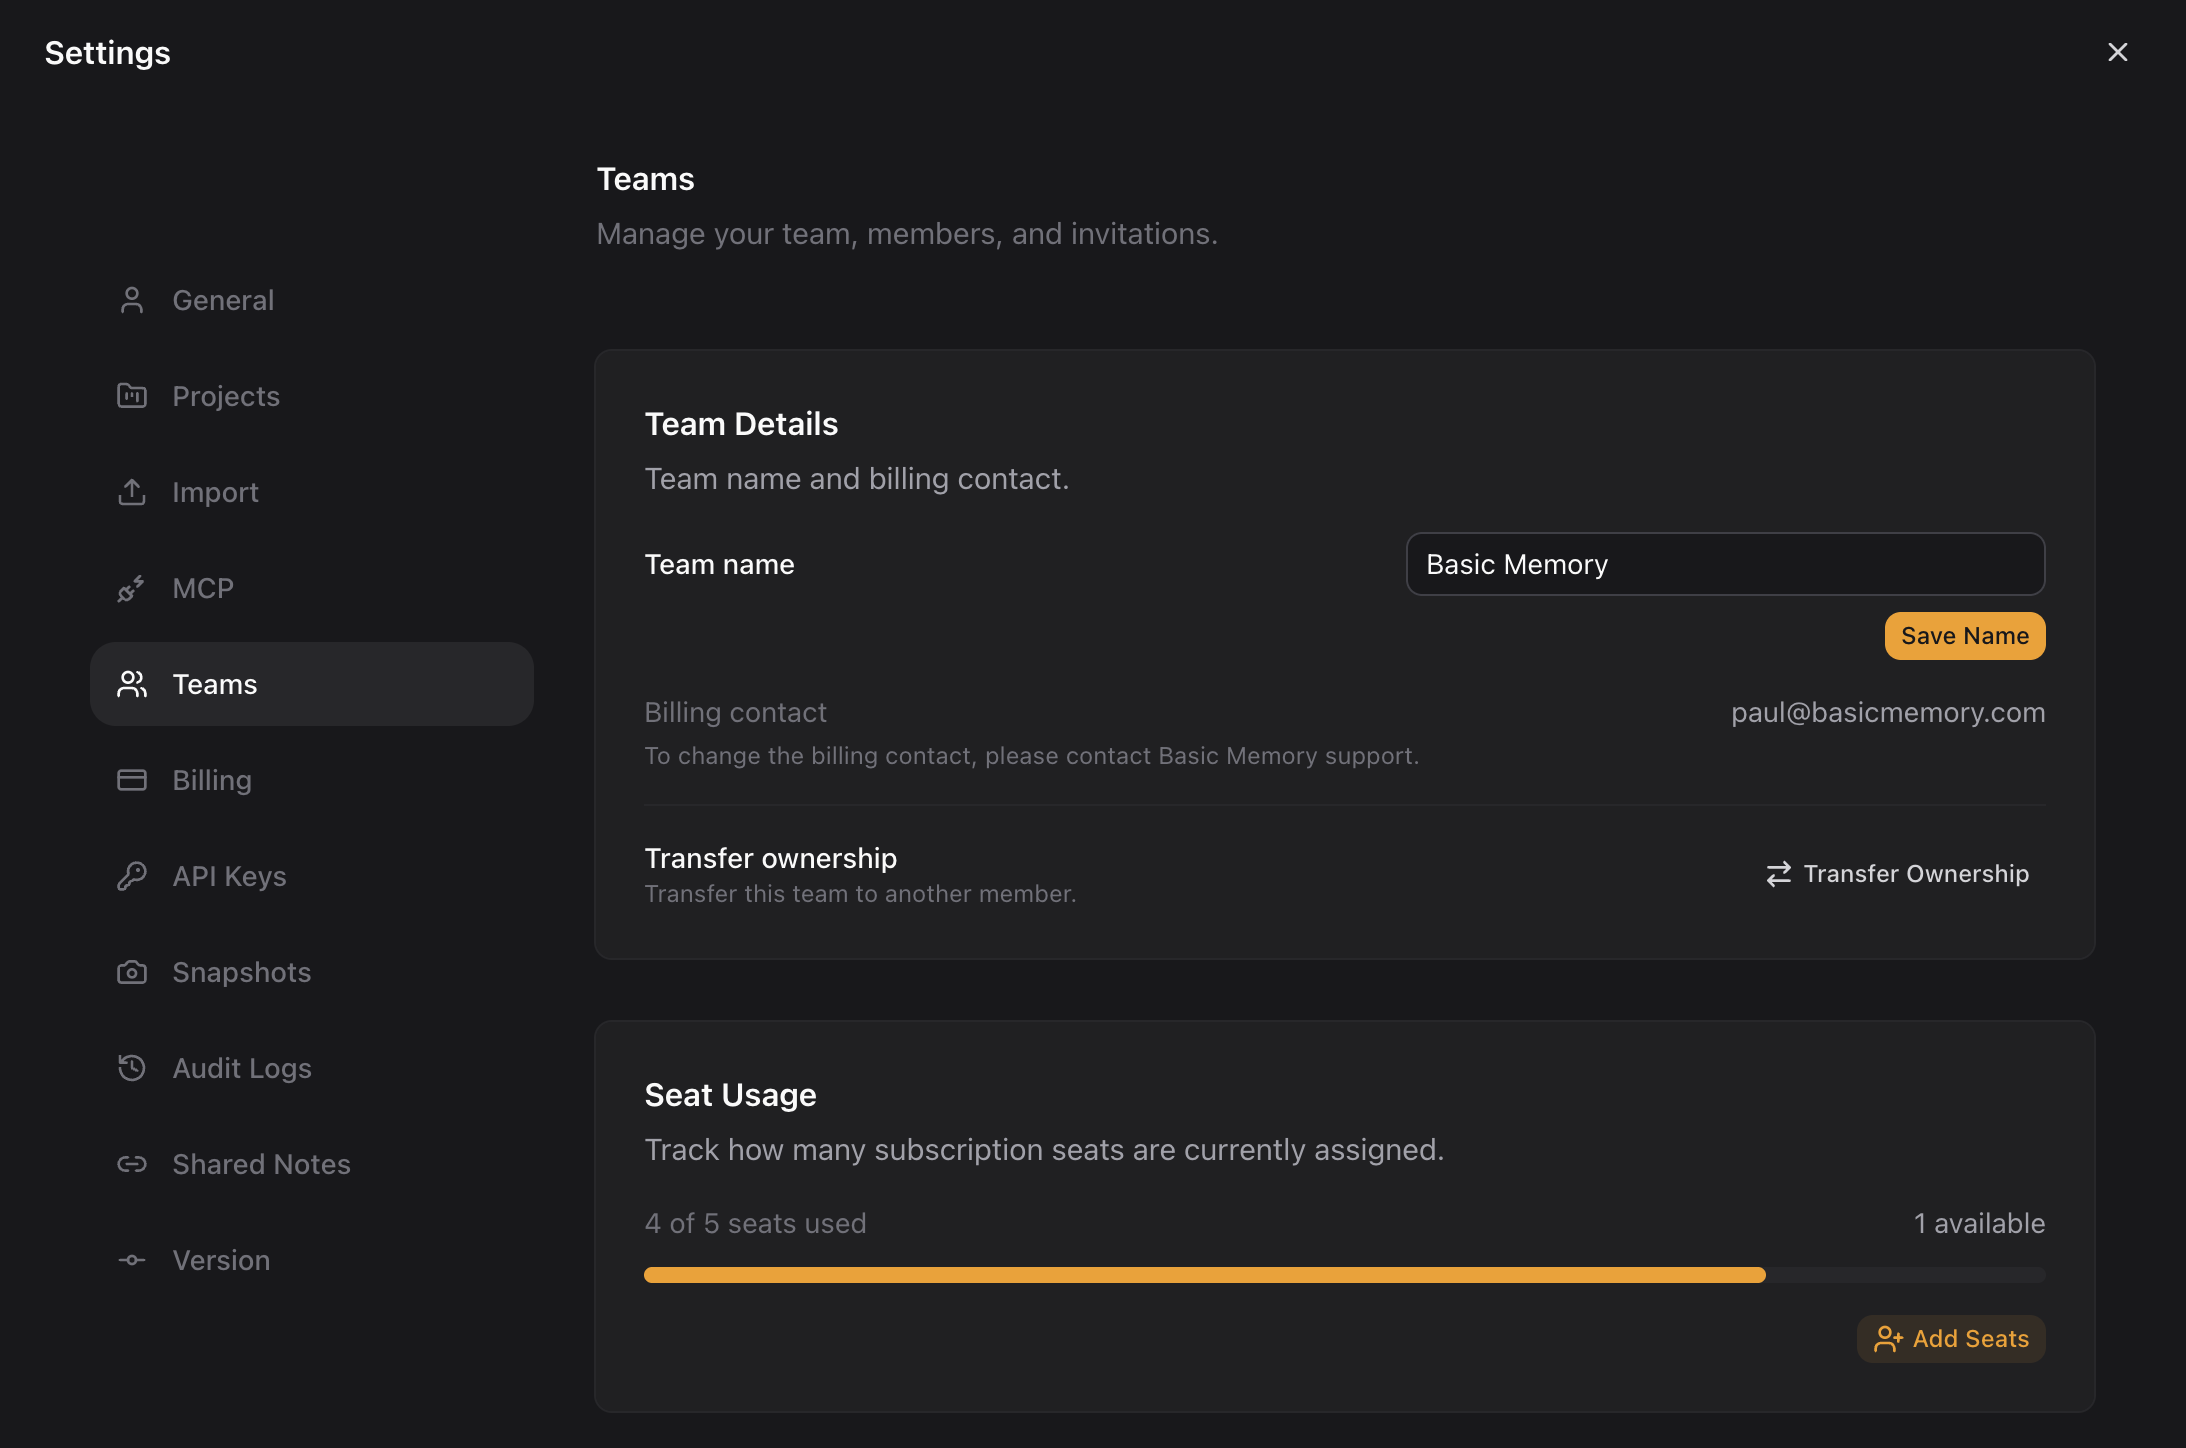
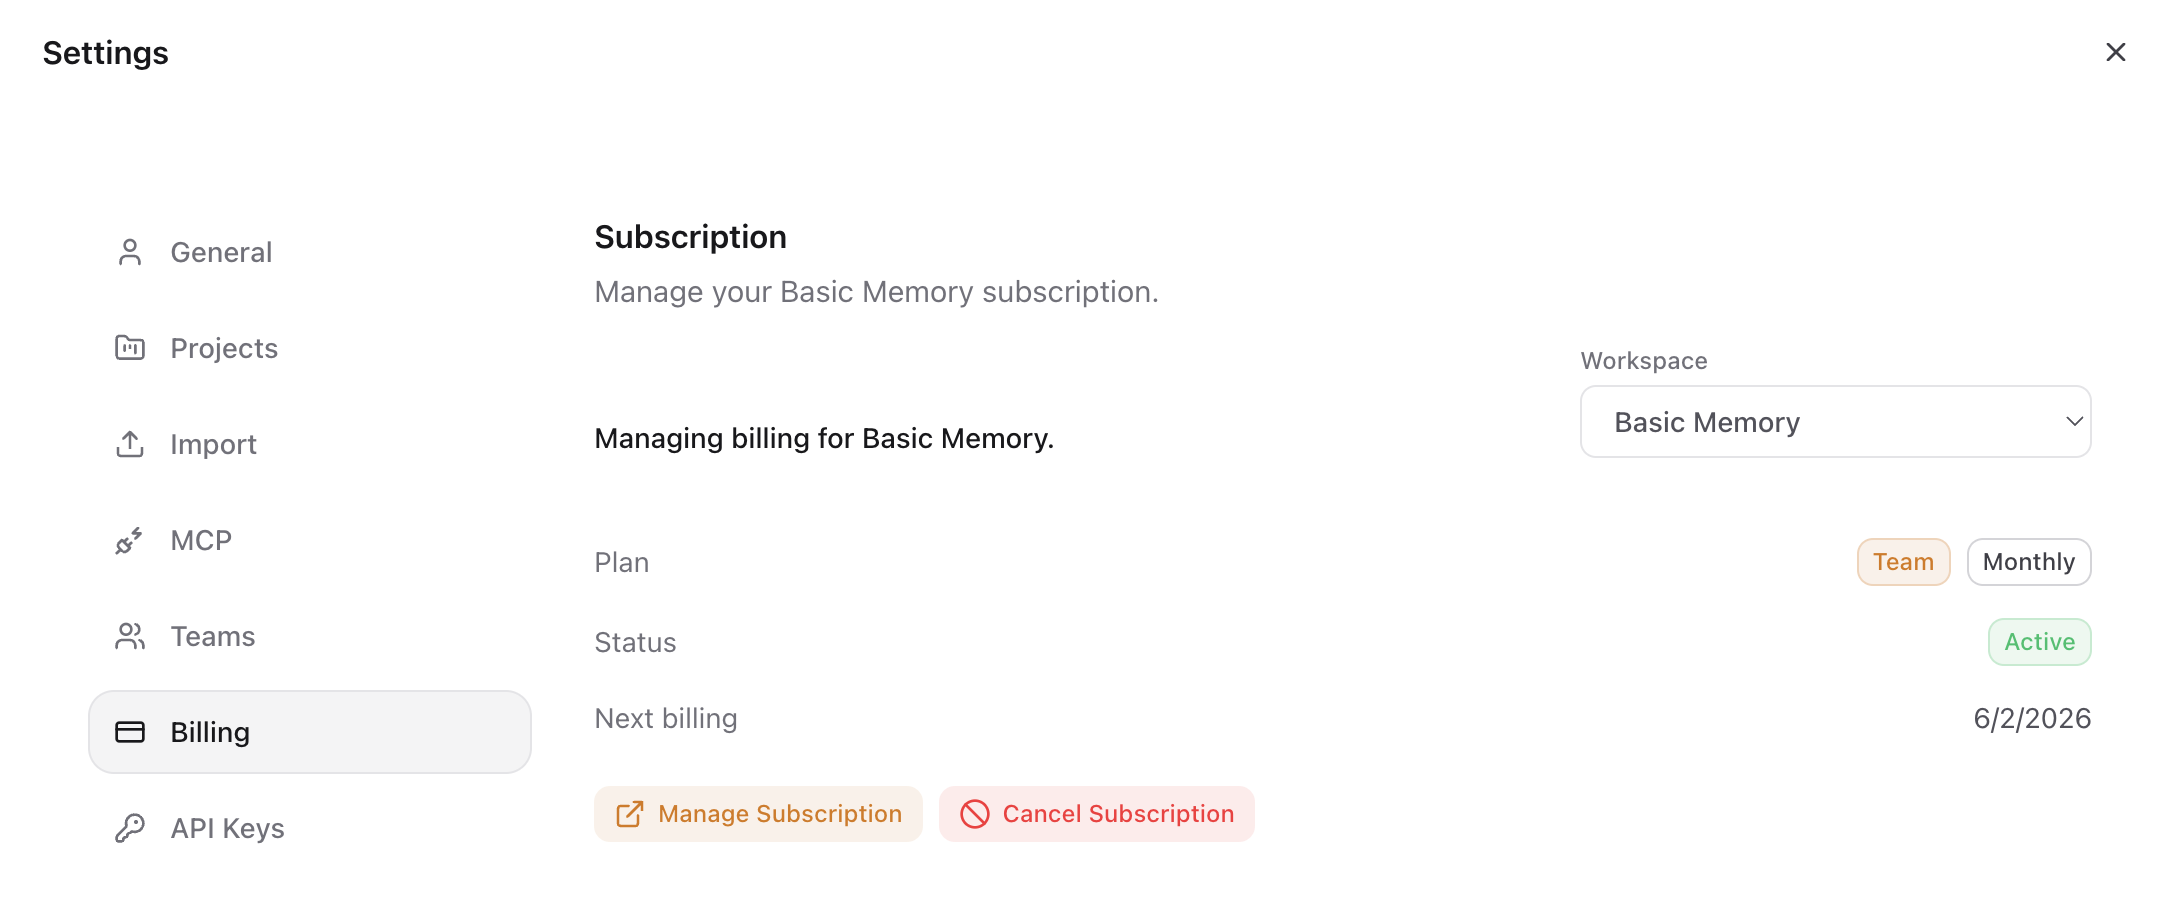
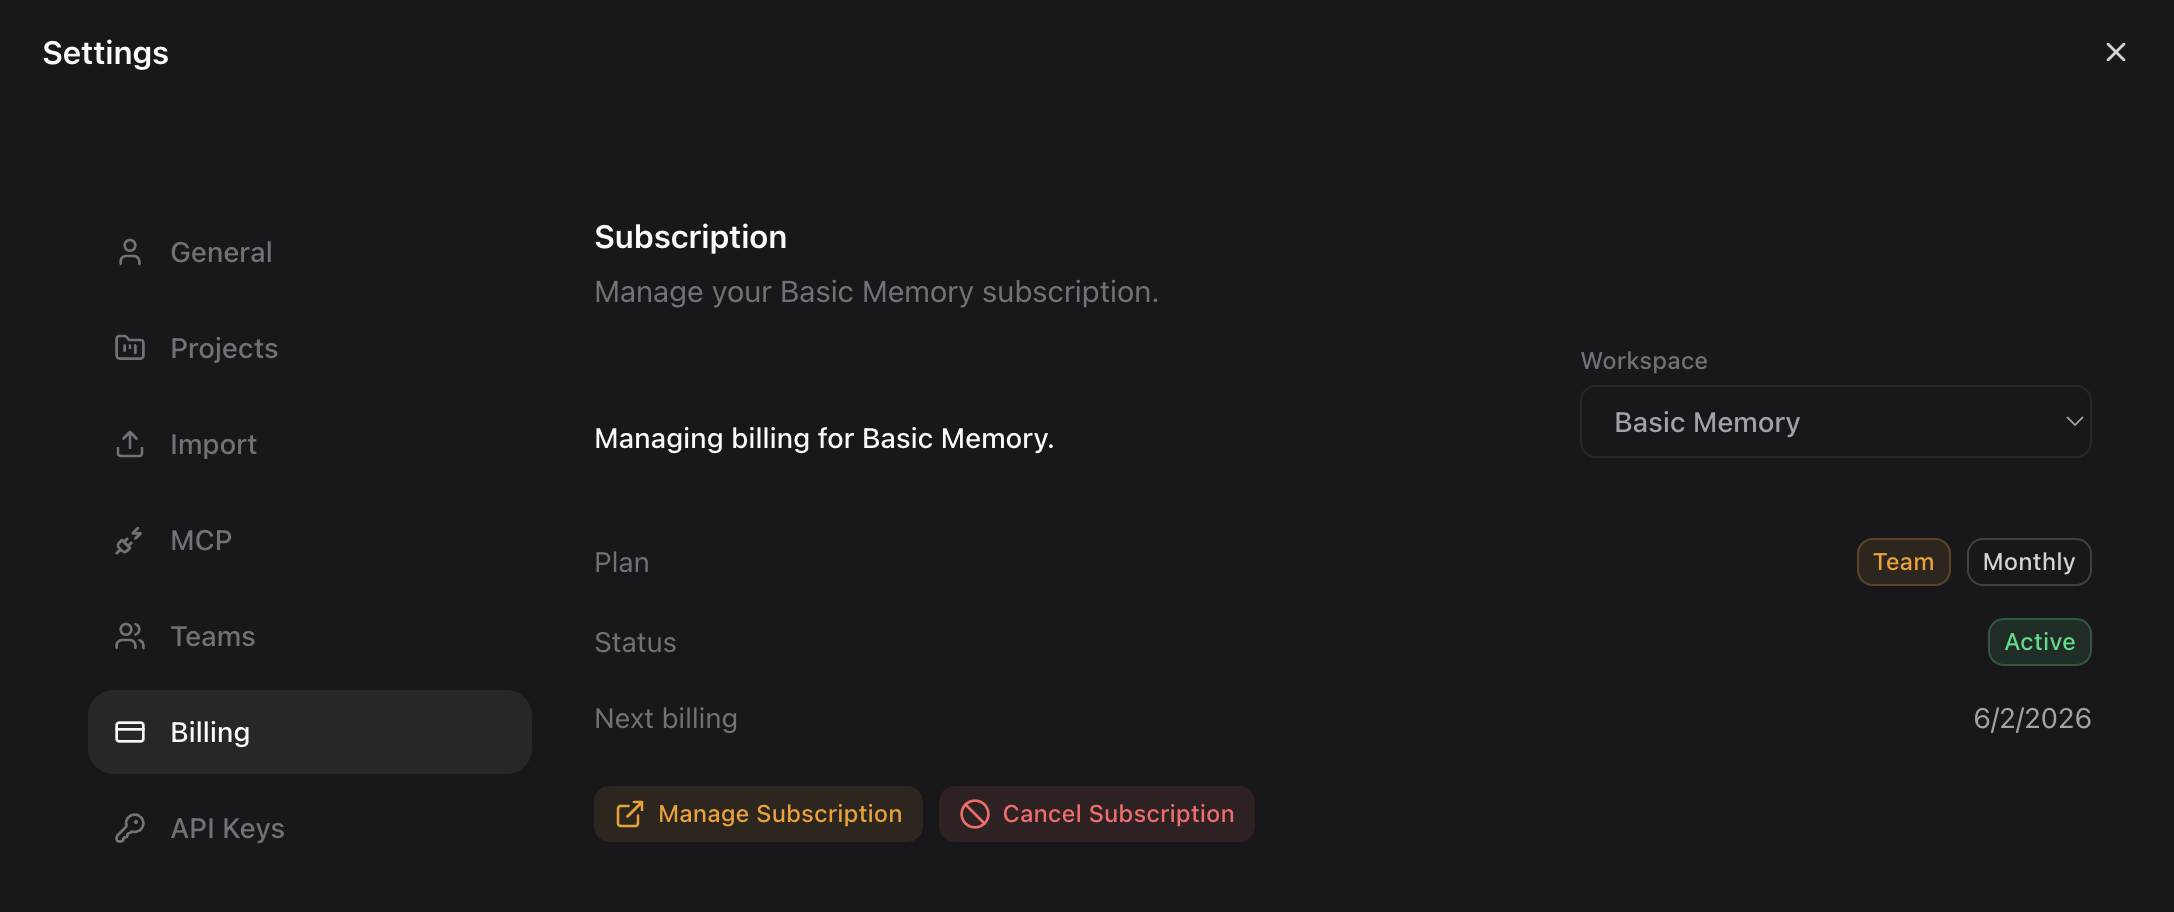
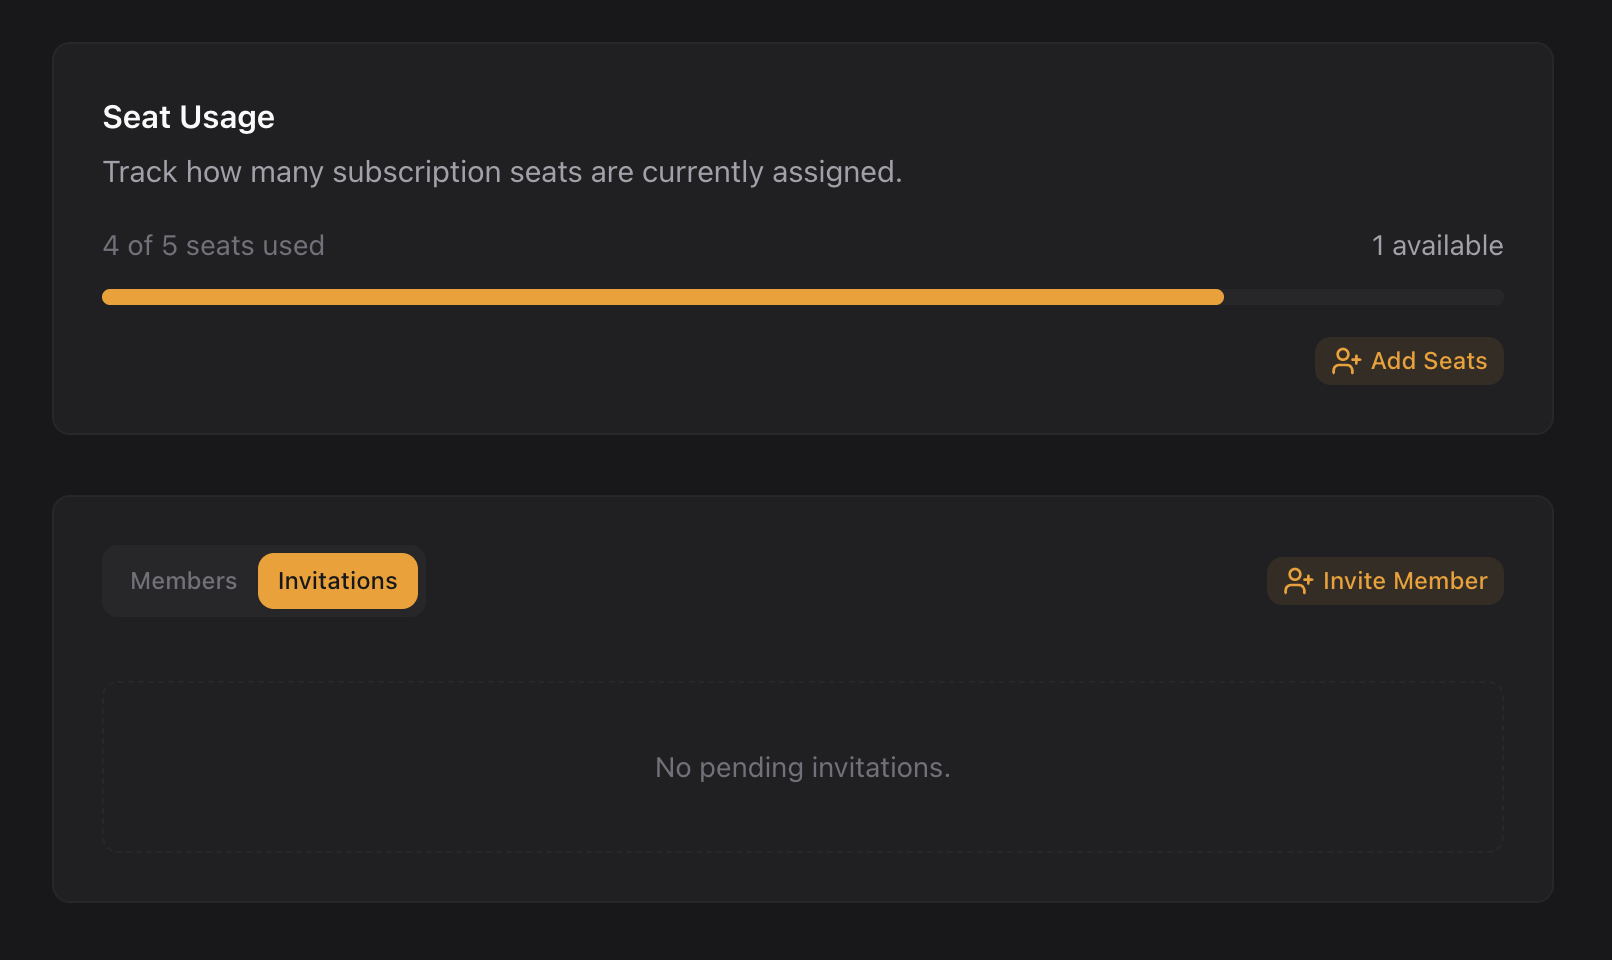
Manage seats and payment from Settings → Billing.
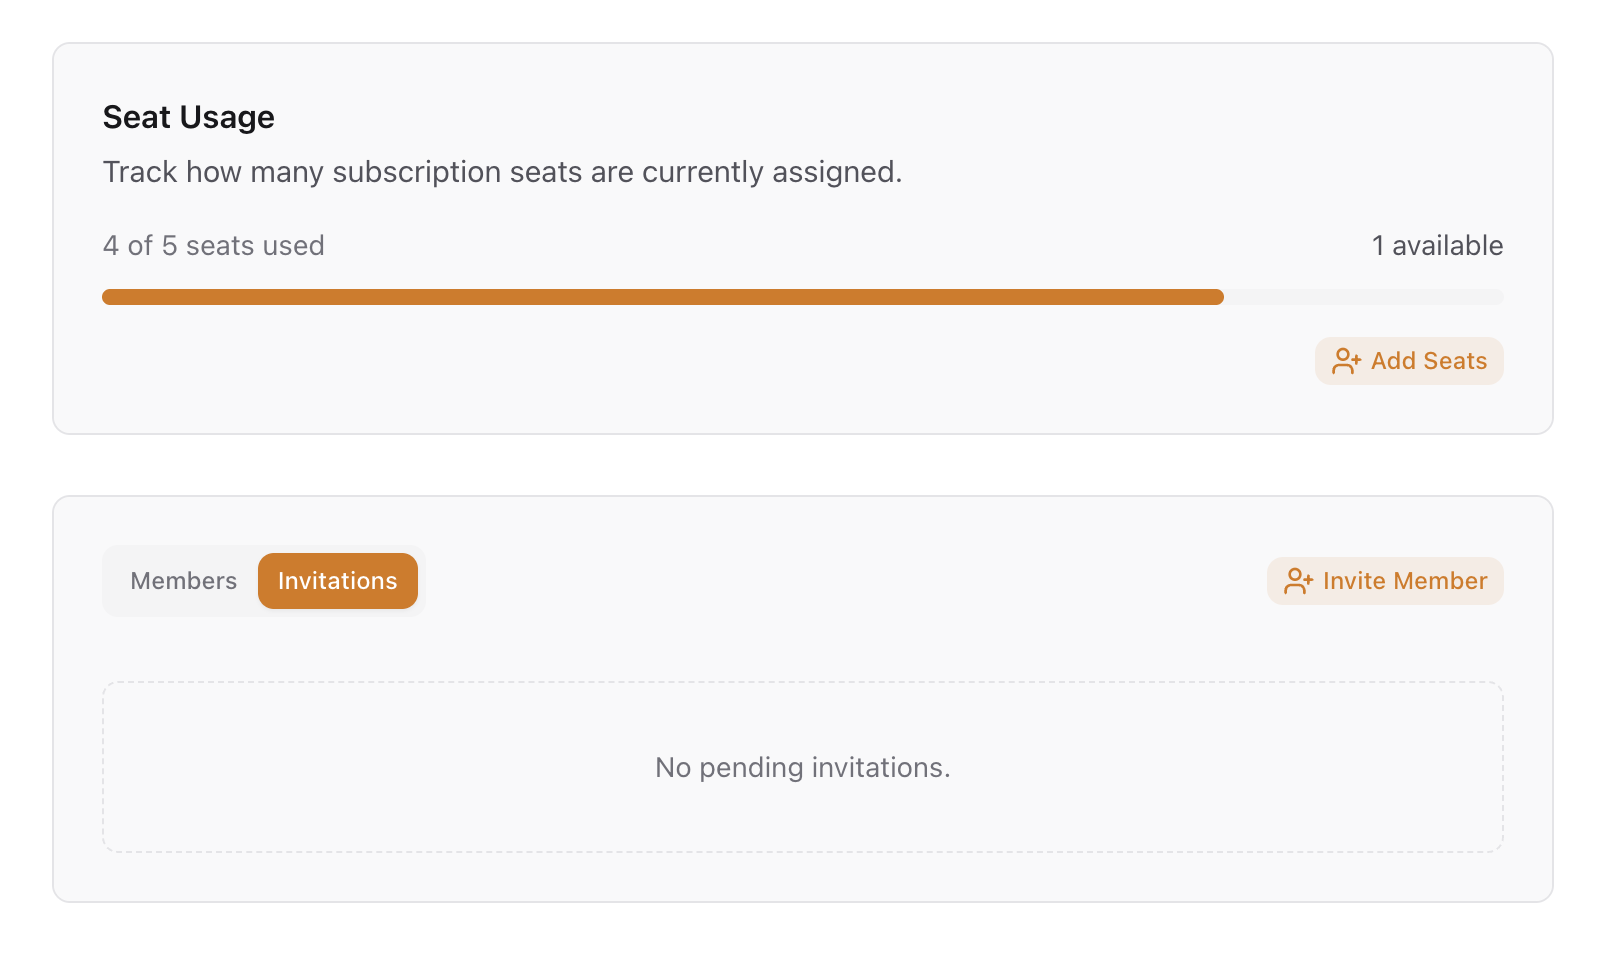
Track current seat usage from the same screen:
Projects
Team projects come in three visibilities. The right one depends on who needs to see the work:
| Visibility | Who can see it | When to use |
|---|---|---|
Standard (workspace) — default | Everyone in the organization, based on their workspace role (viewer/editor/owner) | Most team work — the open, shared knowledge base |
Shared (shared) | Only people you grant access to, each at editor or viewer level | Sensitive topics (hiring, contracts, security audits) where you want a controlled group |
Private (private) | Only the creator | Personal scratch space inside the team workspace |
When you create a cloud project, you can set its visibility from the CLI:
# Standard — visible to everyone in the team workspace (default)
bm project add team-wiki --cloud --workspace acme --visibility workspace

# Shared — only people you grant access to
bm project add hiring-2026 --cloud --workspace acme --visibility shared

# Private — just you
bm project add my-scratch --cloud --workspace acme --visibility private
See the CLI Reference for full bm project add options.
Bringing existing notes into a team workspace
When you join (or start) a team, you'll often want to promote work from your personal workspace into the shared one. Cross-workspace transfers are a copy workflow — export from the source, import into the target, verify, then optionally delete the original.
See Copy Content Between Workspaces for the project ZIP, single-note, MCP, and local-sync workflows, along with caveats around wikilinks, permissions, and share links.
Working with team projects
Once you're part of a team workspace, team projects show up everywhere you work:
- In the app — switch to the organization workspace and your shared projects appear in the sidebar.
- In your AI assistant (MCP) — your assistant's project list spans every cloud workspace you can access, so it reaches team projects without extra setup. See v0.21.0 for details on cross-workspace discovery.
- In the CLI —
bm project listshows projects across all your workspaces.
Workspace commands
# List the cloud workspaces available to you
bm cloud workspace list

# Set the default workspace for CLI and MCP routing
bm cloud workspace set-default acme
You can also target a specific workspace when creating a project, either from the CLI (--workspace) or from MCP (create_memory_project(workspace="acme")).
Security and isolation
Each organization gets its own isolated database and file storage in the cloud — there is no shared tenancy at the data layer. Your team's knowledge is physically separated from every other team's. Authentication runs through WorkOS AuthKit for enterprise-grade identity management.
Next Steps
File History
Per-note version history in the cloud — open File history on any note to see every saved version and restore or merge in old content.
Joining a Team Workspace
First-time setup for new team members — accept the invite, sign in, switch workspaces, and connect your AI assistant to the shared knowledge base.